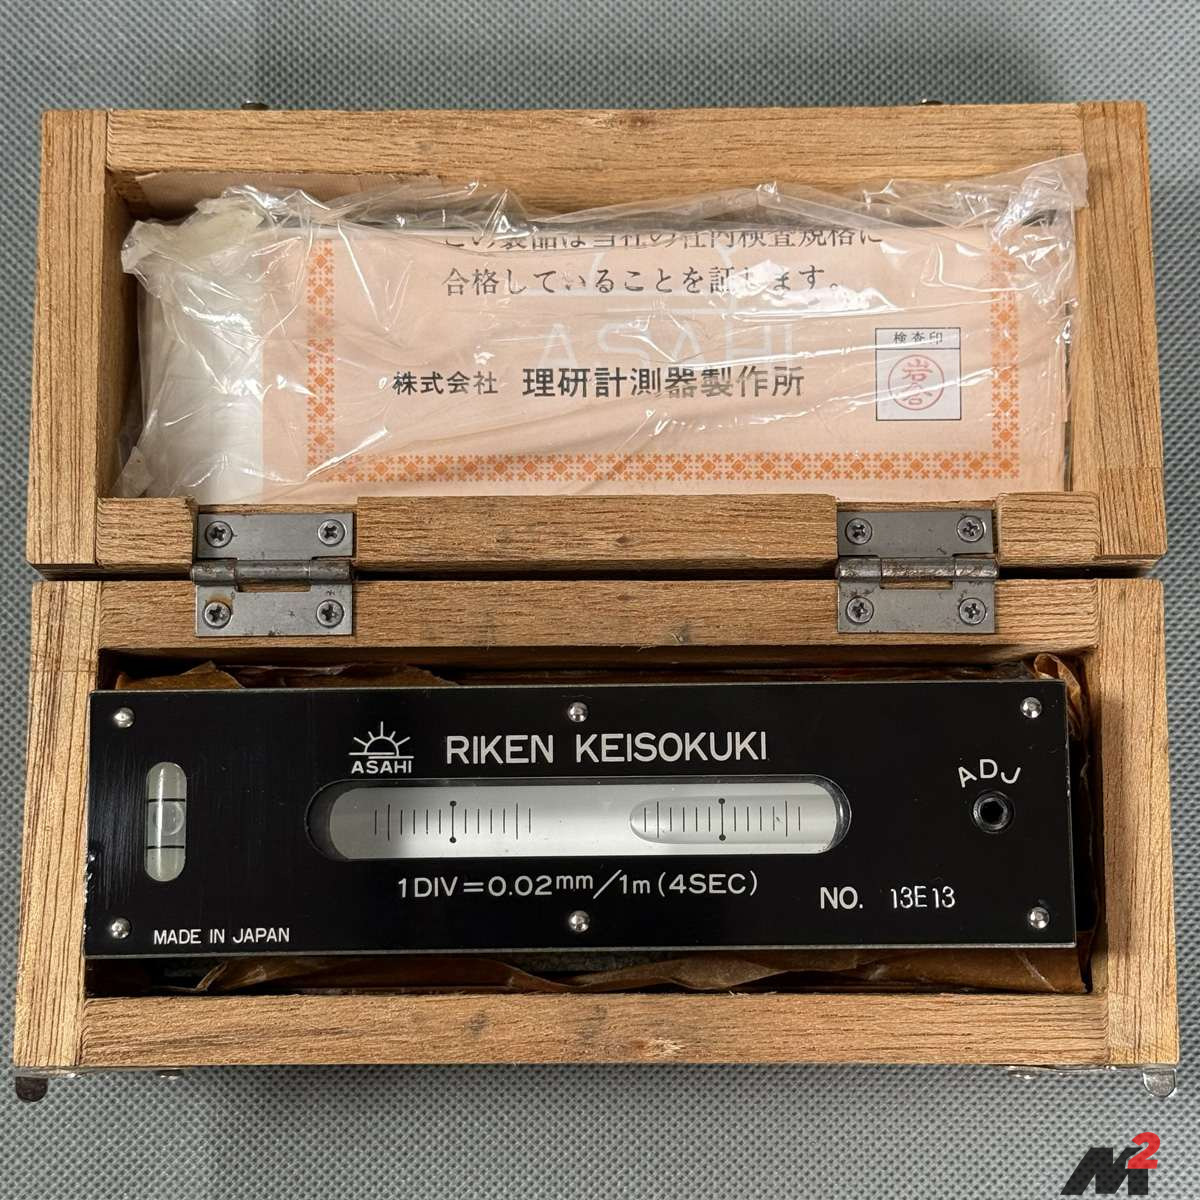
Sensitivity: 0.02mm/1m Tool Required: Flat-head screwdriver (usually small) or the specific adjusting pin if supplied.
1. Prepare the Surface Find a surface plate or a high-quality machine table (like a mill table or lathe bed) that is relatively level. It does not need to be perfectly level, but it must be clean, smooth, and stable.
2. The First Reading Place the level on the surface. Mark the exact position of the level on the table with a pencil or tape so you can place it back in the exact same spot.
- Wait for the bubble to settle completely (this may take 15–30 seconds for high-precision levels).
- Note the position of the bubble (e.g., “3 divisions to the right”).
3. The Second Reading (The 180° Turn) Lift the level and rotate it exactly 180 degrees. Place it back on your marked outline.
- Wait for the bubble to settle.
- Note the new position.
4. interpreting the Result
- If the bubble moves to the same spot relative to the level body (i.e., if it was 3 right, and after flipping it is still 3 right), the level is perfectly calibrated. The error shown is purely the slope of the table.
- If the bubble moves to a different spot, the level requires adjustment. The “True Zero” is the point exactly halfway between your two readings.
5. Adjusting to Zero
- Keep the level in its current position.
- Locate the adjustment screw (usually found at one end of the main vial or sometimes under a cover screw).
- Using your adjustment tool, slowly turn the screw to move the bubble to the “True Zero” position (the halfway point calculated in Step 4).
- Tip: Make tiny adjustments. Precision levels are extremely sensitive.
6. Verify Repeat the 180° test. If the bubble reading is identical in both directions (e.g., “1 division left” both times), the tool is calibrated.